Your Cart is Empty


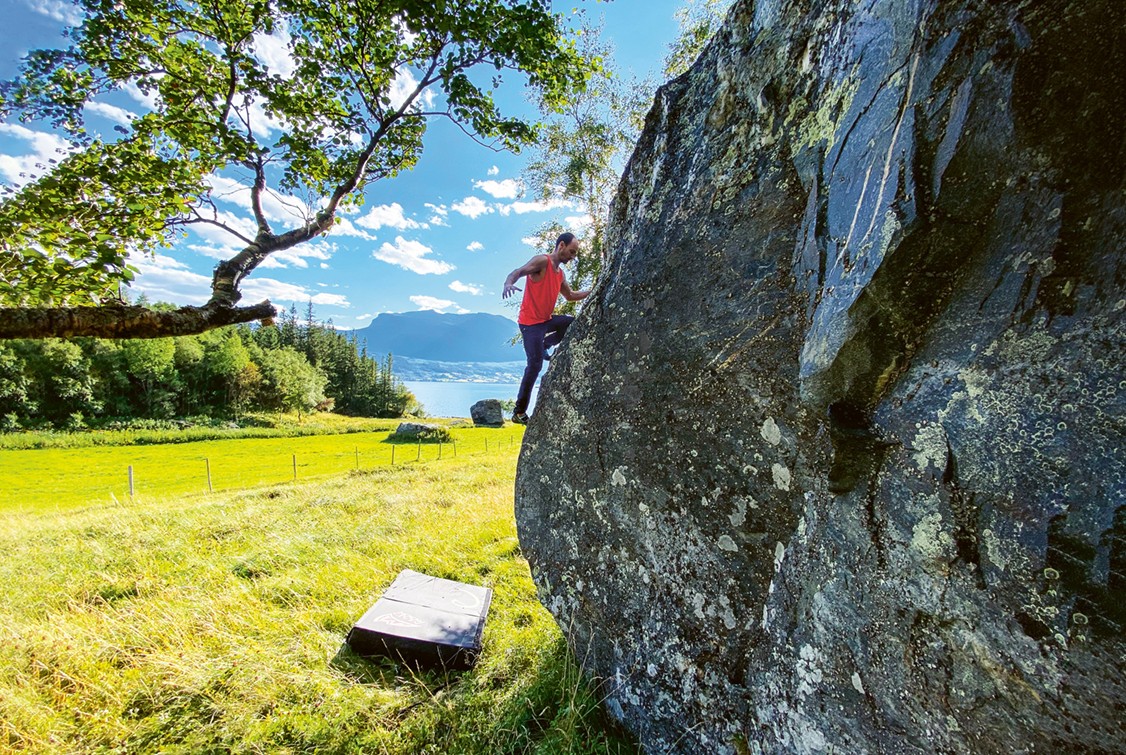
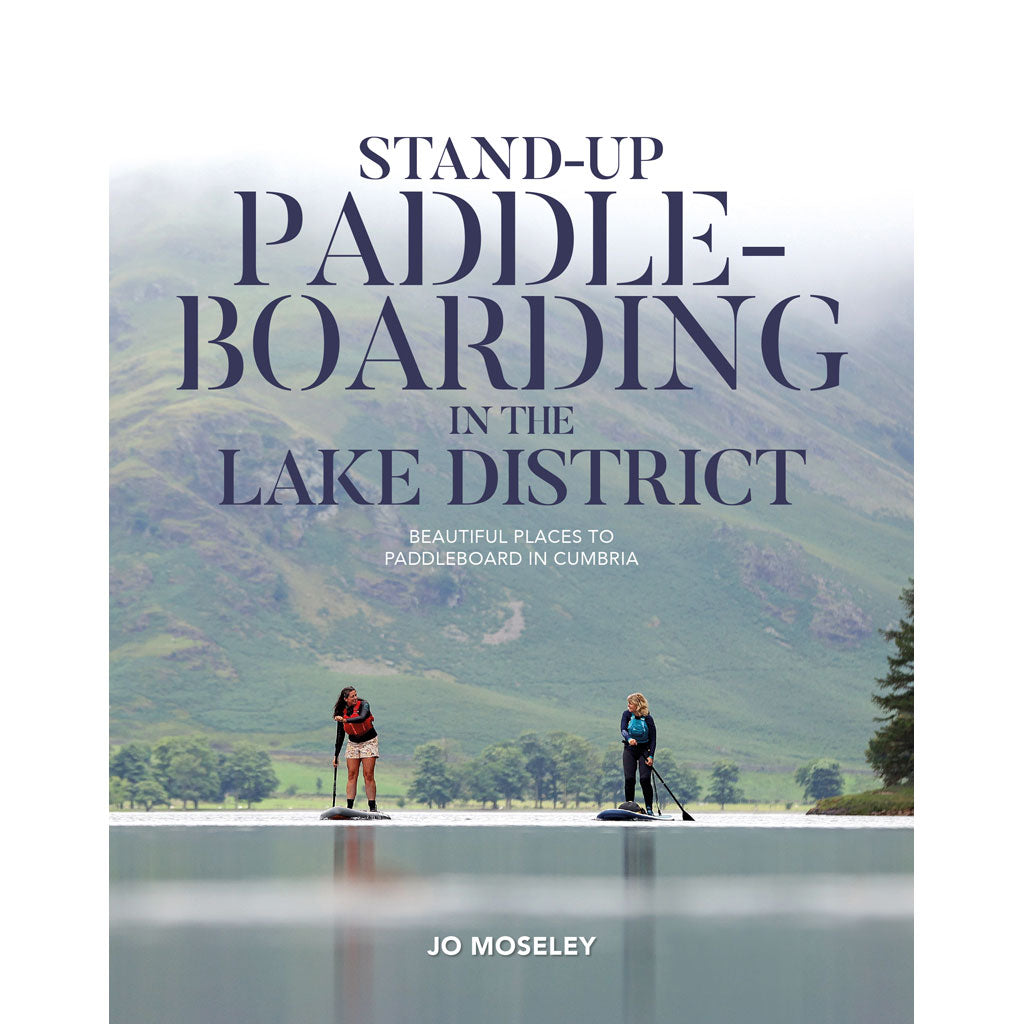
Stian Christophersen swinging his way up Diamanten (Font 8b), Vingsand, Norway. © Bård Lie Henriksen
You have to climb a lot to be a good climber. Training technique before physical training; learning to use your feet; training finger strength; setting yourself targets according to your strengths and weaknesses; and being as strong mentally as you are physically and technically will help take your climbing to the next level. But, most importantly, preserve the joy. Climbing is all fun and games.
The following training methods are featured in The Climbing Bible: Practical Exercises. To upgrade your performance, click HERE.
FOOTWORK
Your legs and feet can and should take a large part of the load that is necessary to keep you on the wall. To be able to do this, you need to be precise when placing your feet on the holds to ensure that they don’t slip off, and you should lower your body such that as much of your weight as possible is distributed on to your feet and off of your upper body.
LOOK UP – LOOK DOWN
Many climbers, especially beginners, forget to look at where they are placing their feet. Therefore, make it a rule to always look down at your foot when you’re placing it on a hold. It’s important that you do not look up before you have actually placed your foot exactly where you want it. When your foot is in place you can look up and move to the next handhold. Your gaze should therefore alternate up and down every time you move a foot or a hand. Try climbing a route where you consistently move your gaze to the foot or hand about to be moved. If you forget, reverse the move and do it again.
BABY STEPS
To help practise your footwork, try making three moves with your feet for every individual hand move. This is perhaps unnecessary to climb a route or a boulder problem, but it’s a good way to practise precision footwork and it makes you more aware of how important it is to actually look at your feet when you are placing them on a foothold. It’s a good idea to start with routes with large footholds before progressing to smaller and smaller holds.
HIGH STEPS
As a climber, you’re bound to come across high steps, so you might as well start practising them from the get-go. To practise efficiently, choose a route you can do quite easily and place your feet as high as you can for every move. High steps require flexibility, but it’s possible to cheat your way up by moving your hips out and away from the wall, as long as the handholds are good enough. However, climbing on slopers inhibits you from moving your hips too far out from the wall and therefore forces you to work on hip mobility when placing your feet high.
DOWNCLIMBING
Downclimbing forces you to look at your feet when you are placing them, so try climbing up a route and then back down again. Pair up with a climbing partner and alternate who climbs and who belays. You can also do this session on an auto belay, but this isn’t ideal, as the auto belay is constantly pulling upwards while you’re downclimbing.

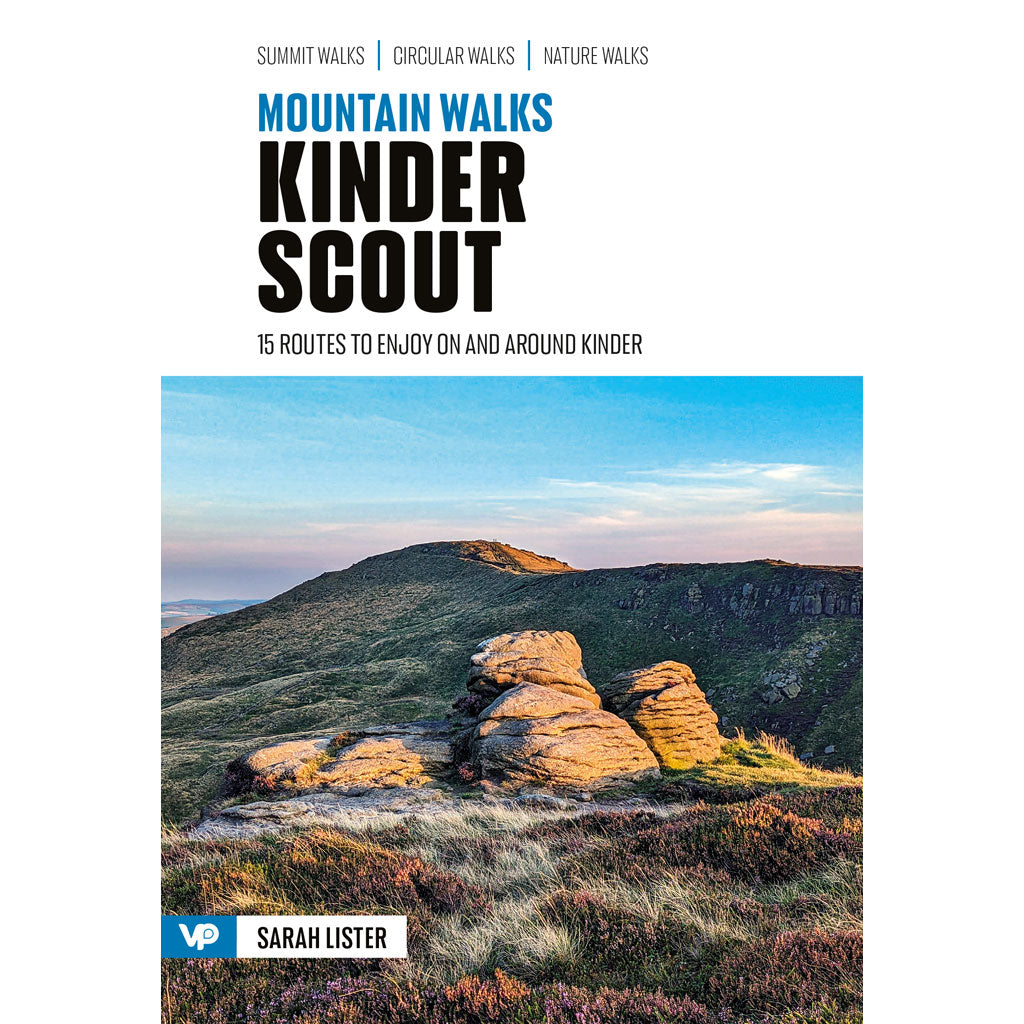
© Bård Lie Henriksen
NINJA FEET
Try climbing a route or boulder problem that’s well within your limit and without making a sound when placing your feet on the footholds. To be able to do this, you will need to look at your feet and be very precise when placing them on the holds. This will also train your balance, as you will need to be in a position that gives you enough time to place your feet properly and with precision. If you find placing your feet precisely and silently difficult, instead try practising while still on the ground. Choose different footholds near the ground – preferably holds with different shapes – and practise placing one foot while keeping the other on the ground. Keep your balance by holding on to holds on the wall with your hands as this mimics the situation you’ll face while actually climbing.
STICKY FEET
On many footholds there might be only the tiniest of grooves in which to place your foot. When placing your foot on these holds there’s little room to adjust your foot after placing it. This means you have to be very precise when placing the tip of your shoe on the hold. To practise this, you can climb routes where you don’t allow yourself to move or twist your foot to either side once it is placed on a hold.
CHIPS ONLY
The style of route setting in climbing walls differs from one to the other, but if you have the option to climb routes with small screw-on footholds or chips only, this is a really good way to train precision footwork. Standing on small footholds demands even more precision to hit that tiny dimple or protrusion.
USE THE TIP
Rookie climbers will tend to place the middle of their foot on a foothold. This is unfortunate as a climbing shoe loses many of its properties when placed in this way. In addition to your climbing being less precise, you will lose the ability to twist your body around the foothold without your foot slipping off the hold. In most cases you should use the tip of your shoe to stand on footholds. You will sometimes use the sides of the shoe, but even then it’s still the inside or outside edge of the tip of the shoe which you’re using. A good exercise for practising this is to traverse a wall with lots of holds and observe what happens when you place the inside or outside of your foot on the hold, and not the tip. In many cases you’ll fall when you move on as your foot will twist off the hold.

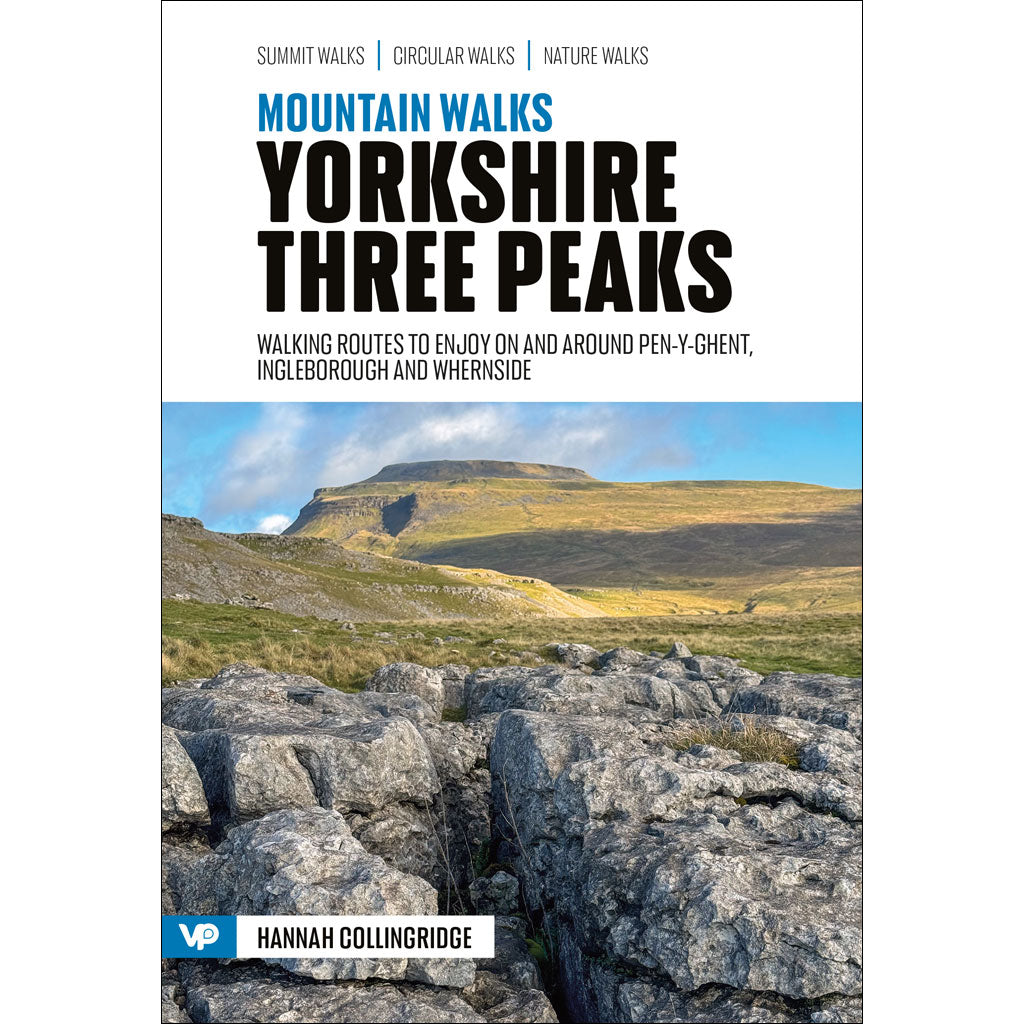
© Bård Lie Henriksen
INTERMEDIATE STEPS
In order to stand securely on slopey holds, volumes and walls it’s important to be able to smear your feet on the holds. And to smear on the footholds you need to lower your heel to maximise the contact surface between the shoe and the hold/wall. A good way to practise this is to stand directly on to the wall (i.e. not on a foothold) with one foot before placing your other foot on the next foothold. Choose routes or boulder problems well within your limit and only use walls with friction. If the walls in your gym are smoothly painted, it’ll be near impossible to complete this exercise. If this is the case, you can try to do the same exercise every time there’s a volume on the route or boulder problem. There’s usually always friction on these.
MATCHING FEET
When climbing, you’ll often need to match your feet, which means switching your feet on the same foothold. This is an important technique, particularly when traversing. There are several ways to match your feet. If the hold is relatively large, you can place one foot to the side so that there’s enough room for your other foot as well. This doesn’t require more than a bit of planning and simple precision. If there’s not enough room to do it this way you’re left with two choices. You can slide one foot to the side and then slide the other after it, such that they both fit on to the hold. If the foothold is really small and there’s not enough room for your other foot until the first one is off, the sliding technique could still work if you’re precise enough that your foot slides on to the hold just as the first one slides off. The alternative is somewhat more risky, but with good coordination it’s very effective. It involves doing a small ‘jump’ with your foot, switching feet while in the air and then landing on the other foot. ‘Jump’ might be too strong of a word as you’re not trying to jump high into the air, but just high enough for you to sneak one foot underneath the other. We’re only talking a few centimetres here. You’ll also be able to slow the speed of your jump if the handholds allow it. We suggest you practise matching feet down low on the bouldering wall, as here you’ll usually find lots of good holds. Try traversing the whole wall and match your feet on all the footholds you use. Vary the wall angle and size of the footholds. Use poorer and poorer handholds, so that you can’t just ‘cheat’ by pulling up with your arms.
DYNAMICS
Moving dynamically is both a technical and mental challenge. Technically, you want to lower your body so that most of the movement is generated by the larger muscles in your legs, and then use your arms to guide your momentum towards the next hold. As you reach the next hold with your hand you’ll want your body close to the wall and at the apex of its upward trajectory – the point where your body stops to move before it begins to fall back down again. In order to achieve this, you will need to allow your body to move away from the wall slightly at the start of the movement, and then pull it in towards the wall as you move up. You also need to have the correct timing, so that you have just enough speed to reach the next hold with your body in the position you want. For many, it’s a mental challenge to let go and move fast for the next hold. This mental barrier will hinder your progression as a climber, because the benefits of moving dynamically are great. You can do bigger and harder moves, and you’ll save energy by swinging between the holds instead of locking off. In our experience, it’s best to start training dynamic climbing by doing exercises that don’t require lots of speed and coordination. As long as the walls aren’t too steep you should be able to perform the moves quite slowly and you’ll have plenty of time before you have to grab the next hold. This will allow you to focus on the technical execution and build confidence on these types of moves. By starting easy you’ll start to believe that these moves are possible – even for you.
WALL BARS
Wall bars are a great place to start your dynamic training. You can easily find the level that’s right for you, and focus on correct technical execution and gain confidence in doing dynamic moves. Here’s a progression ladder you can use:
This time you should grab the next bar either to the right or the left of your starting position. You’ll have to lower your body to generate speed upwards, but also swing from side to side to create the correct arch towards the bar. This requires even better timing, but is also more relevant to climbing. Again, repeat the exercise until your timing is perfect.
 |
 |
 |
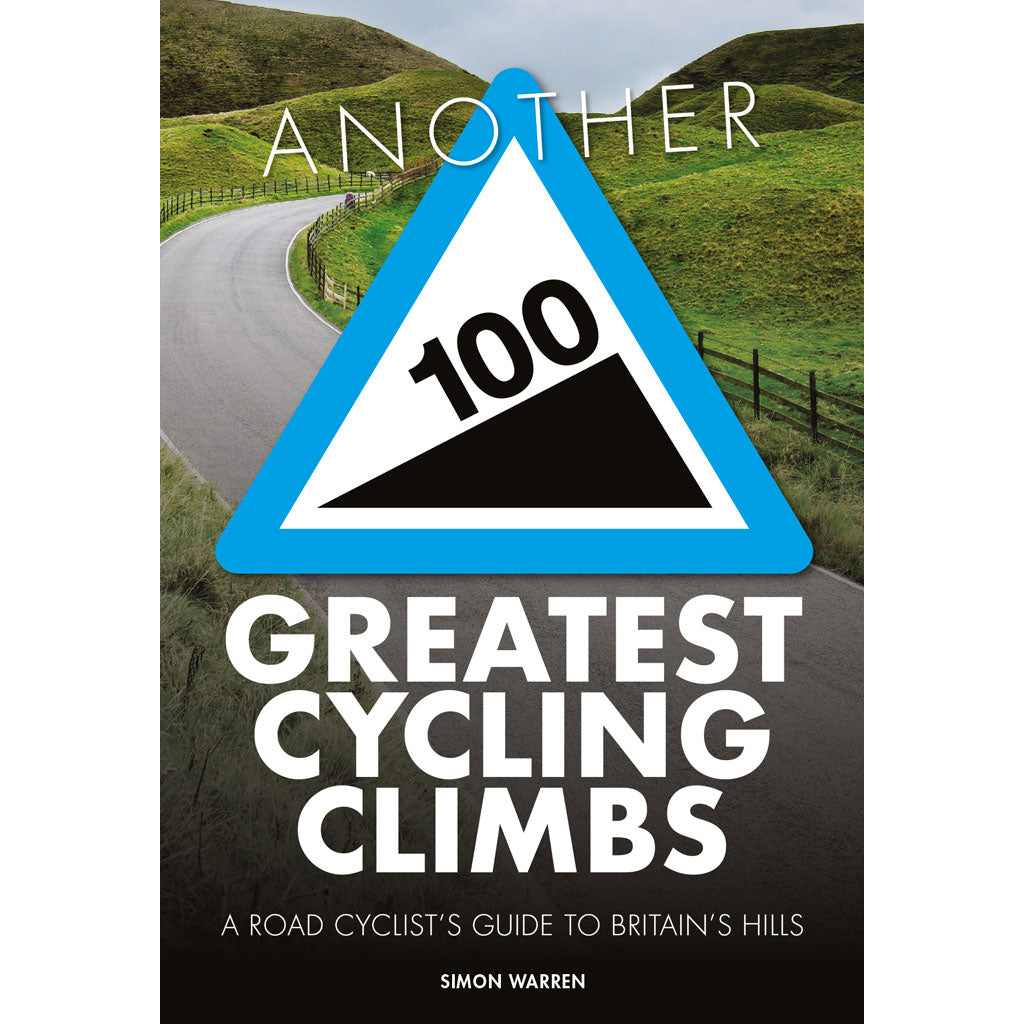
© Bård Lie Henriksen
DOWN AND UP
For this exercise, choose a route you know well. The wall should be slightly overhanging and the holds should be quite good. Lower your body and start every move with your arms straight. Initiate the upward movement with your legs and pull your body towards the wall with your arms. Try to dead point the moves and grab the next hold with your elbow slightly bent, so that you’re able to lock off your body as you stick the hold.
DEADLY PRECISION
Choose two good holds on a vertical or slightly overhanging wall and choose footholds at a comfortable height. The goal here is to move dynamically to a hold that’s higher up than you are able to reach statically, but not higher than you’re able to reach after trying a few times. When you feel you’re in control of the move, repeat it at least 10 more times. Even if you can do the move first go, it’s far from certain that you’re executing it perfectly, and the goal of this exercise is to perfect the movement. A good indicator of how well you’re executing the move is how much energy you’re spending to stop the movement as you grab the hold you’re going for. In theory, you shouldn’t be using anymore force to stick the hold than if you were to do the move statically, but this won’t be the case if your hips are too far away from the wall and your body is still in motion. Therefore, you need to actively work on these key elements on every try. Think about how the move feels, video yourself and get feedback from others. When you feel you have optimised the move, switch hands and repeat the exercise.
To make the exercise harder, you can add rules for how you’re allowed to grip the holds. It’ll be significantly harder if you’re only allowed to grab even relatively good holds with just three or two fingers. Don’t try to grab holds with just two fingers before you’ve practised the move, as too much force on your fingers as you stick the move can lead to strained muscles in your forearm. The next step is to choose holds that require a bit more aim, for example pockets, blocked holds or slopers. These will require a higher degree of precision in your movement. Repeat the different variants 10 times each and search for the perfect execution. As a last challenge we want you to make the starting holds worse. Here are some suggestions for challenging starting positions: